Only for GM2 and GM4
Turning the
suspension bracket by 90° or removing it
Depending on the installation site, the suspension bracket
can be turned by 90°.
|
|
Suspension bracket |
|
|
|
Bolt |
|
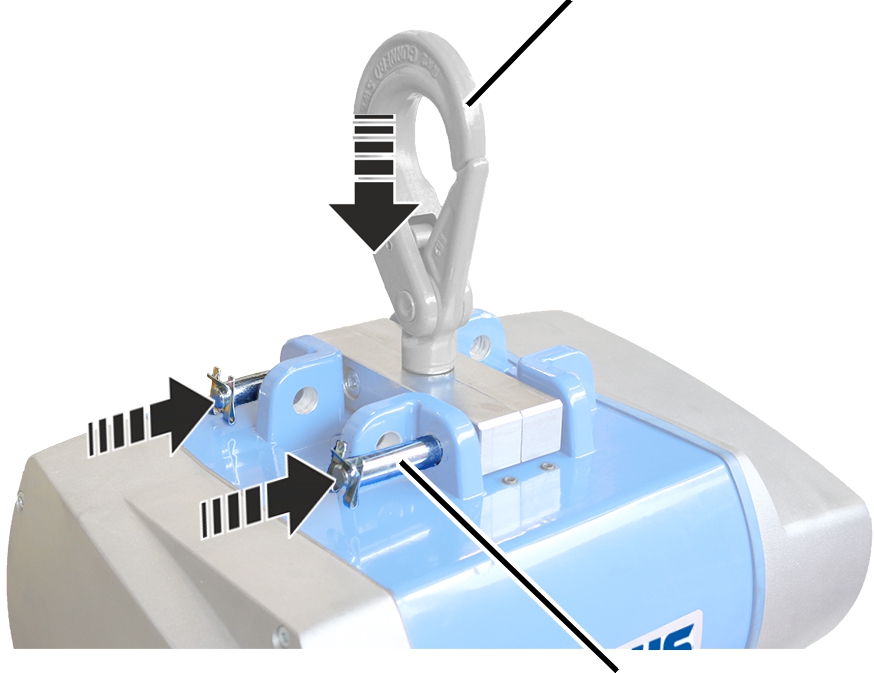
 Detach the SL safety clip from
each of the bolts (2x).
Detach the SL safety clip from
each of the bolts (2x).
Pull out the bolt.
Pull out the suspension bracket,
turn it 90° and reinsert it.
Insert the bolt.
Secure the bolts with the SL
safety clips (1x each).
Folding out the
suspension bracket and attaching the chain hoist
|
Bolt |
Suspension bracket |
|
|
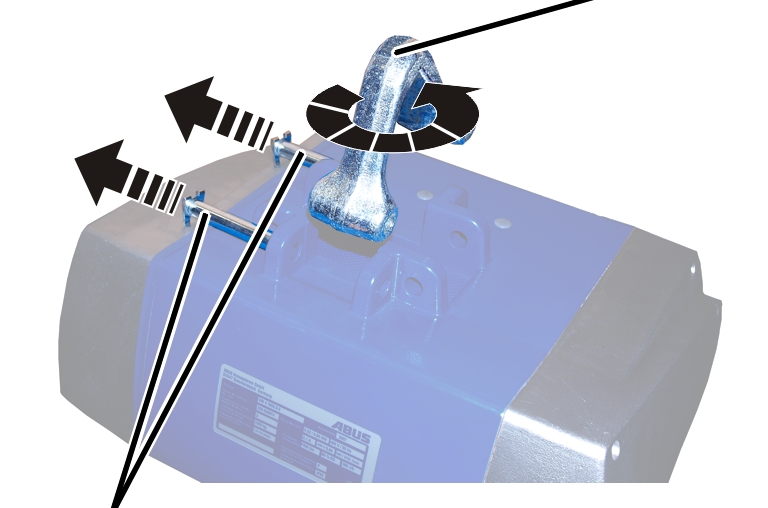
Detach the SL safety clip from the bolt.
Pull out the bolt.
Fold out the suspension
bracket.
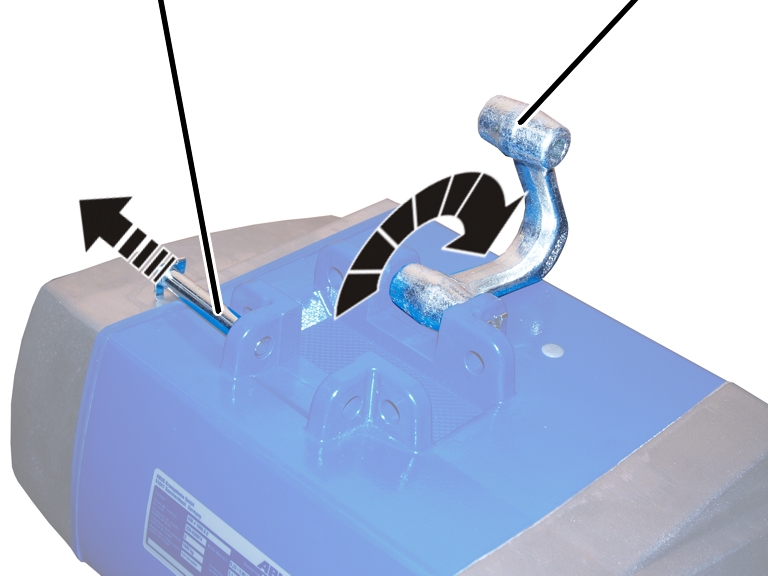
Lift the chain hoist and attach
it under the supporting structure, under the trolley or under the crane.
Fold the suspension bracket over
an appropriate anchorage or the travelling gear bolt of the trolley.
Insert the bolt.
Secure bolt with SL safety
clip.
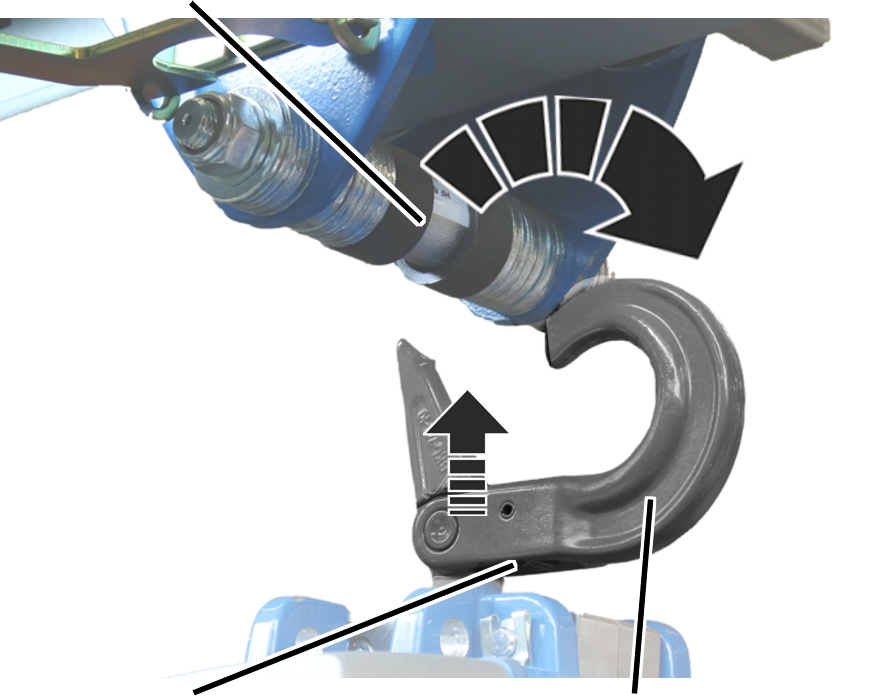
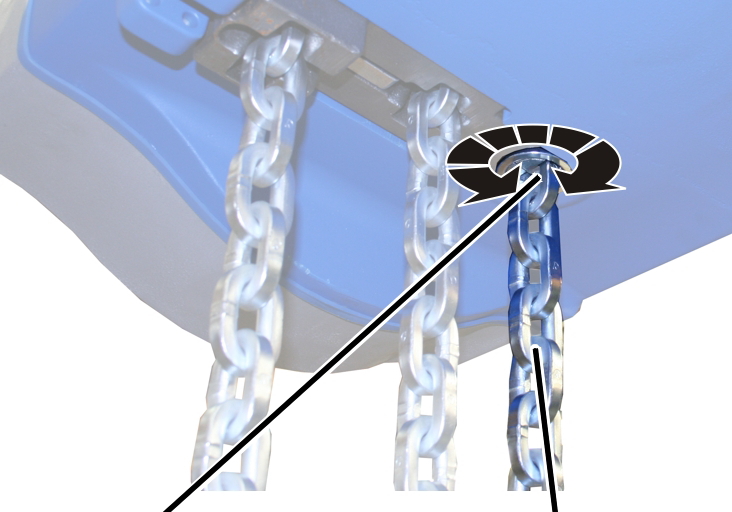
Turn second fall
straight
|
|
|
Chain anchor point |
Second fall |
Check the chain anchor point:
The second fall should extend straight to the bottom block and not be
twisted.
If necessary:
Turn the chain anchor point.