Where an anti-collision device is to be installed is specified in the planning documents.
The anti-collision devices are then installed in the HB profile rails.
With multiple trolleys, these can be required due to the statics, or desirable so that the trolleys do not run directly against each other but instead maintain a minimum distance to one another.
|
|
Where an anti-collision device is to be installed is specified in the planning documents. |
There are three different versions for assembling the anti-collision device.
─ As a free-travelling anti-collision device.
─ As a preceding trolley.
─ With coupling bar.
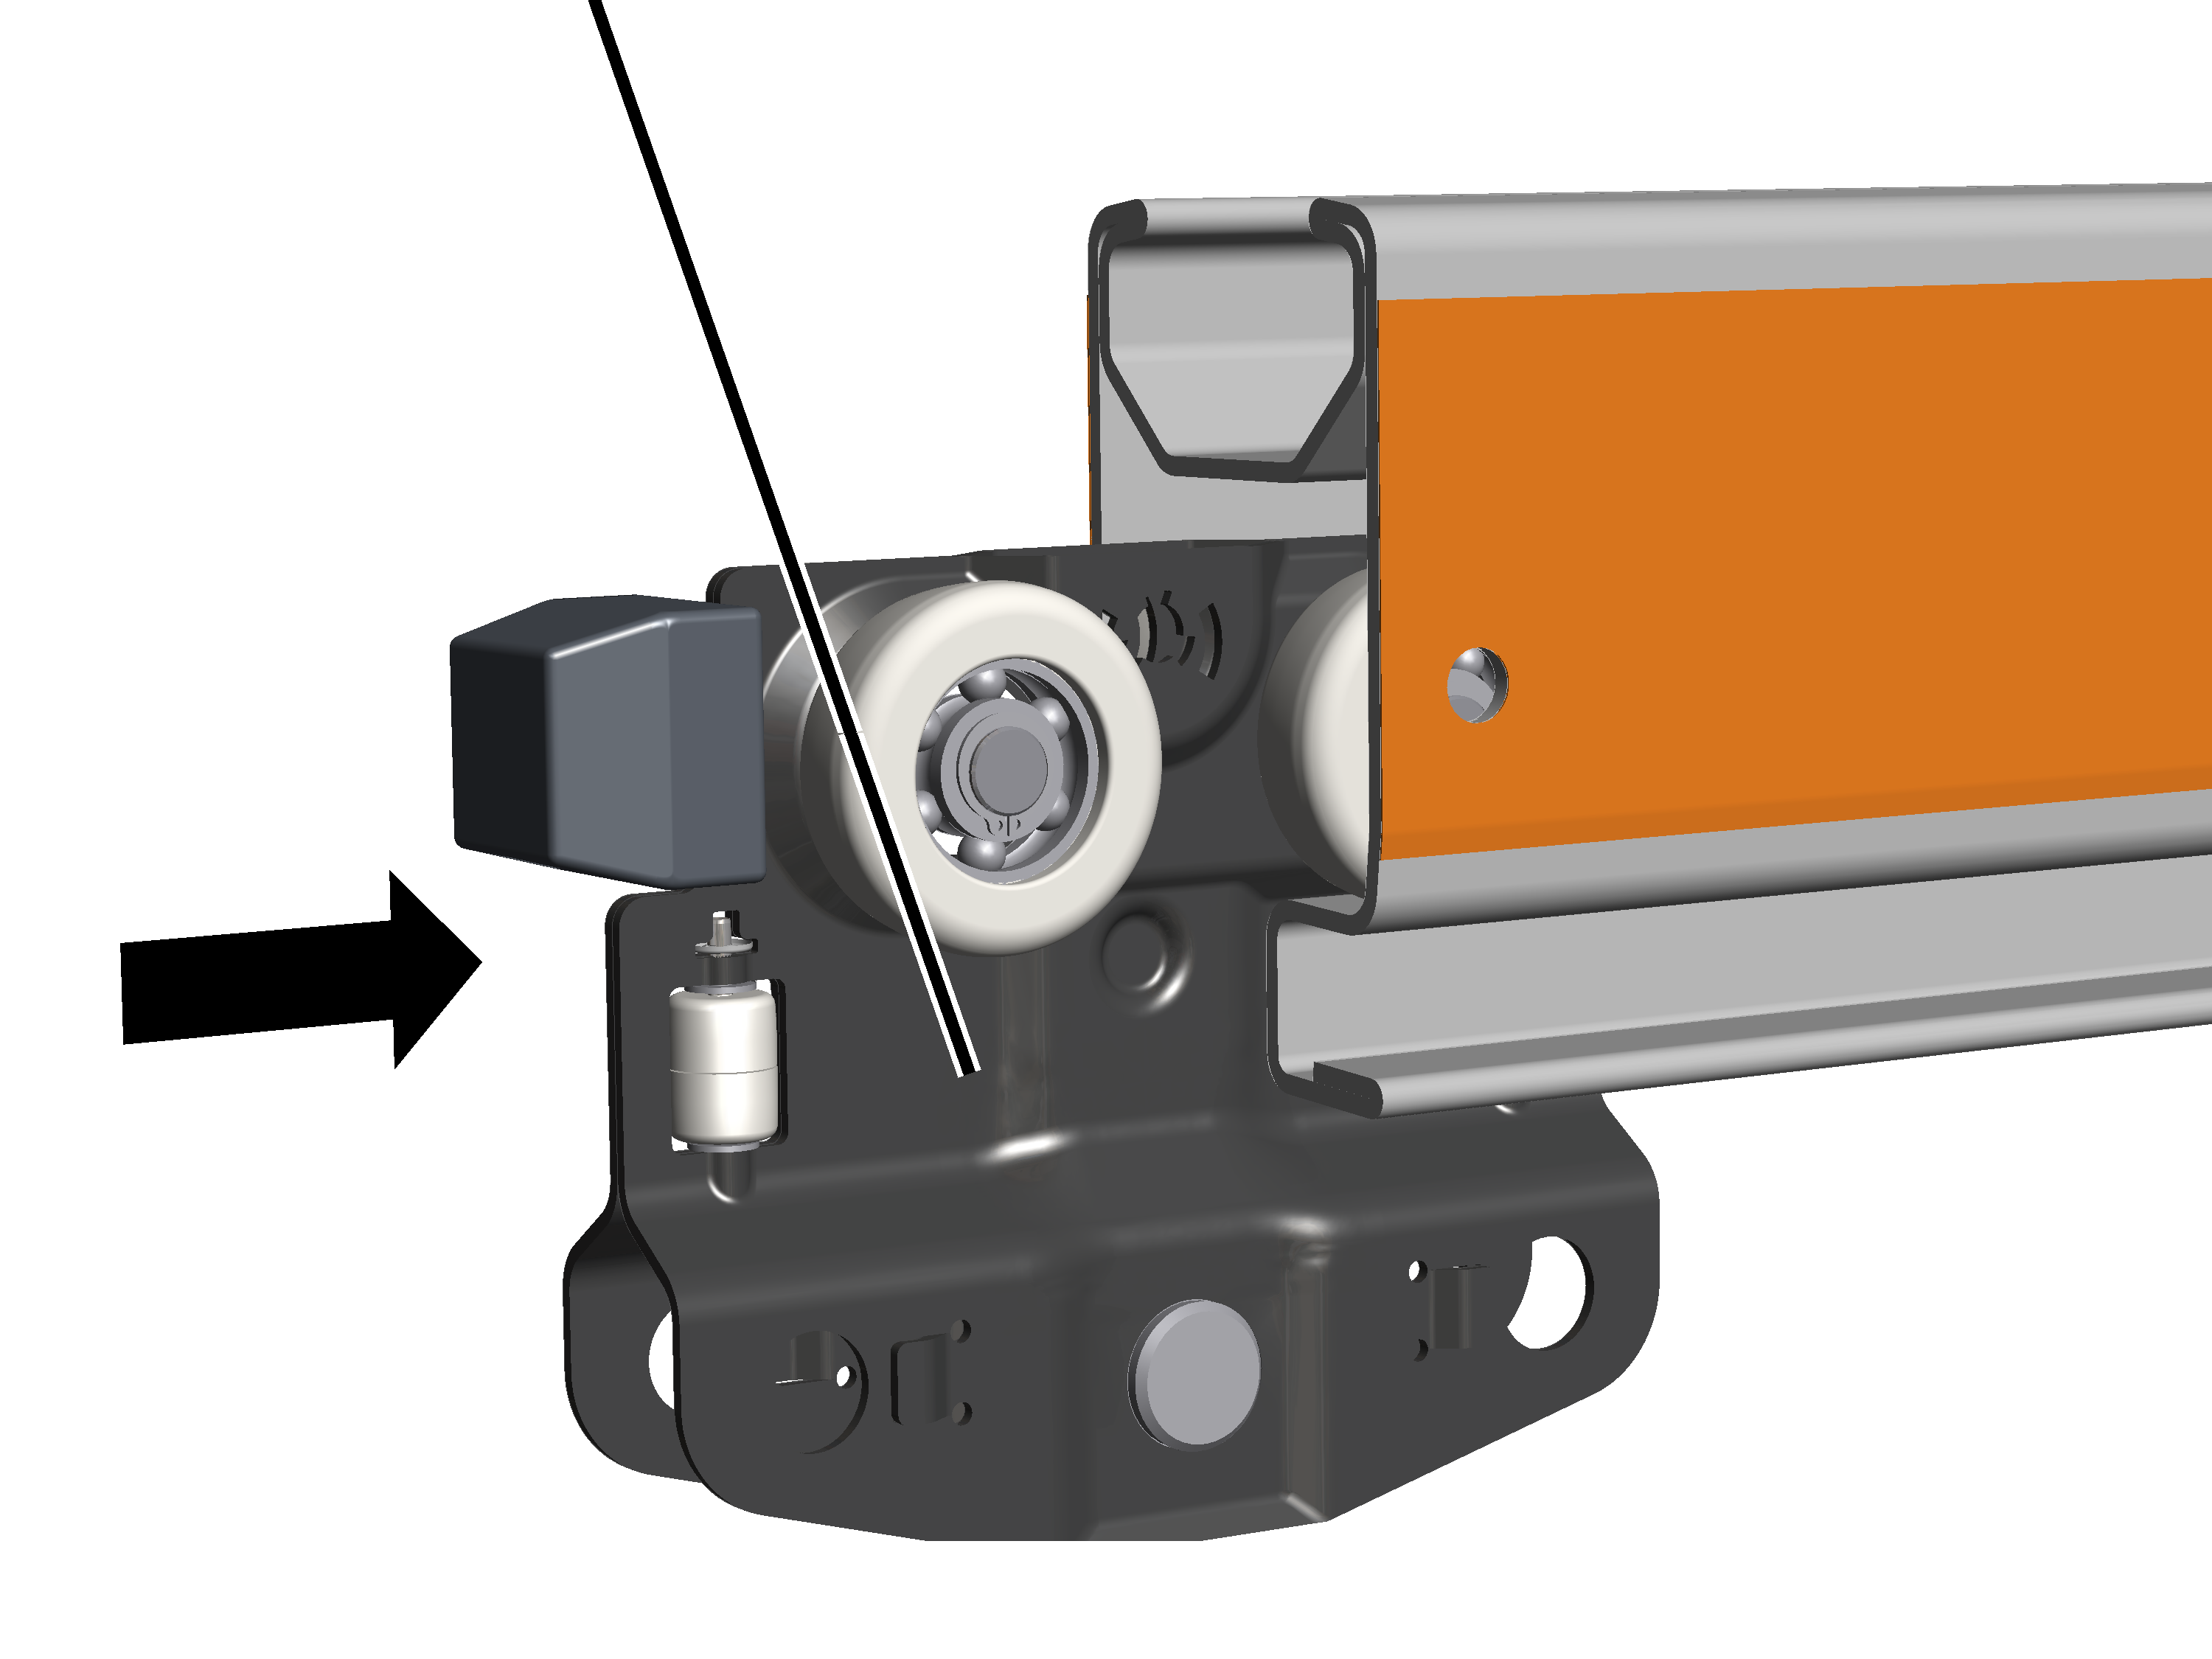
In all HB profile rails and for each anti-collision device:
|
Trolley |
|
|
| |
 With an anti-collision
device as preceding trolley: push an additional trolley into each HB profile
rail.
With an anti-collision
device as preceding trolley: push an additional trolley into each HB profile
rail.
With a free-running
anti-collision device: insert two additional trolleys in each HB profile
rail.
 With an anti-collision
device with coupling bar: no additional trolleys are necessary.
With an anti-collision
device with coupling bar: no additional trolleys are necessary.
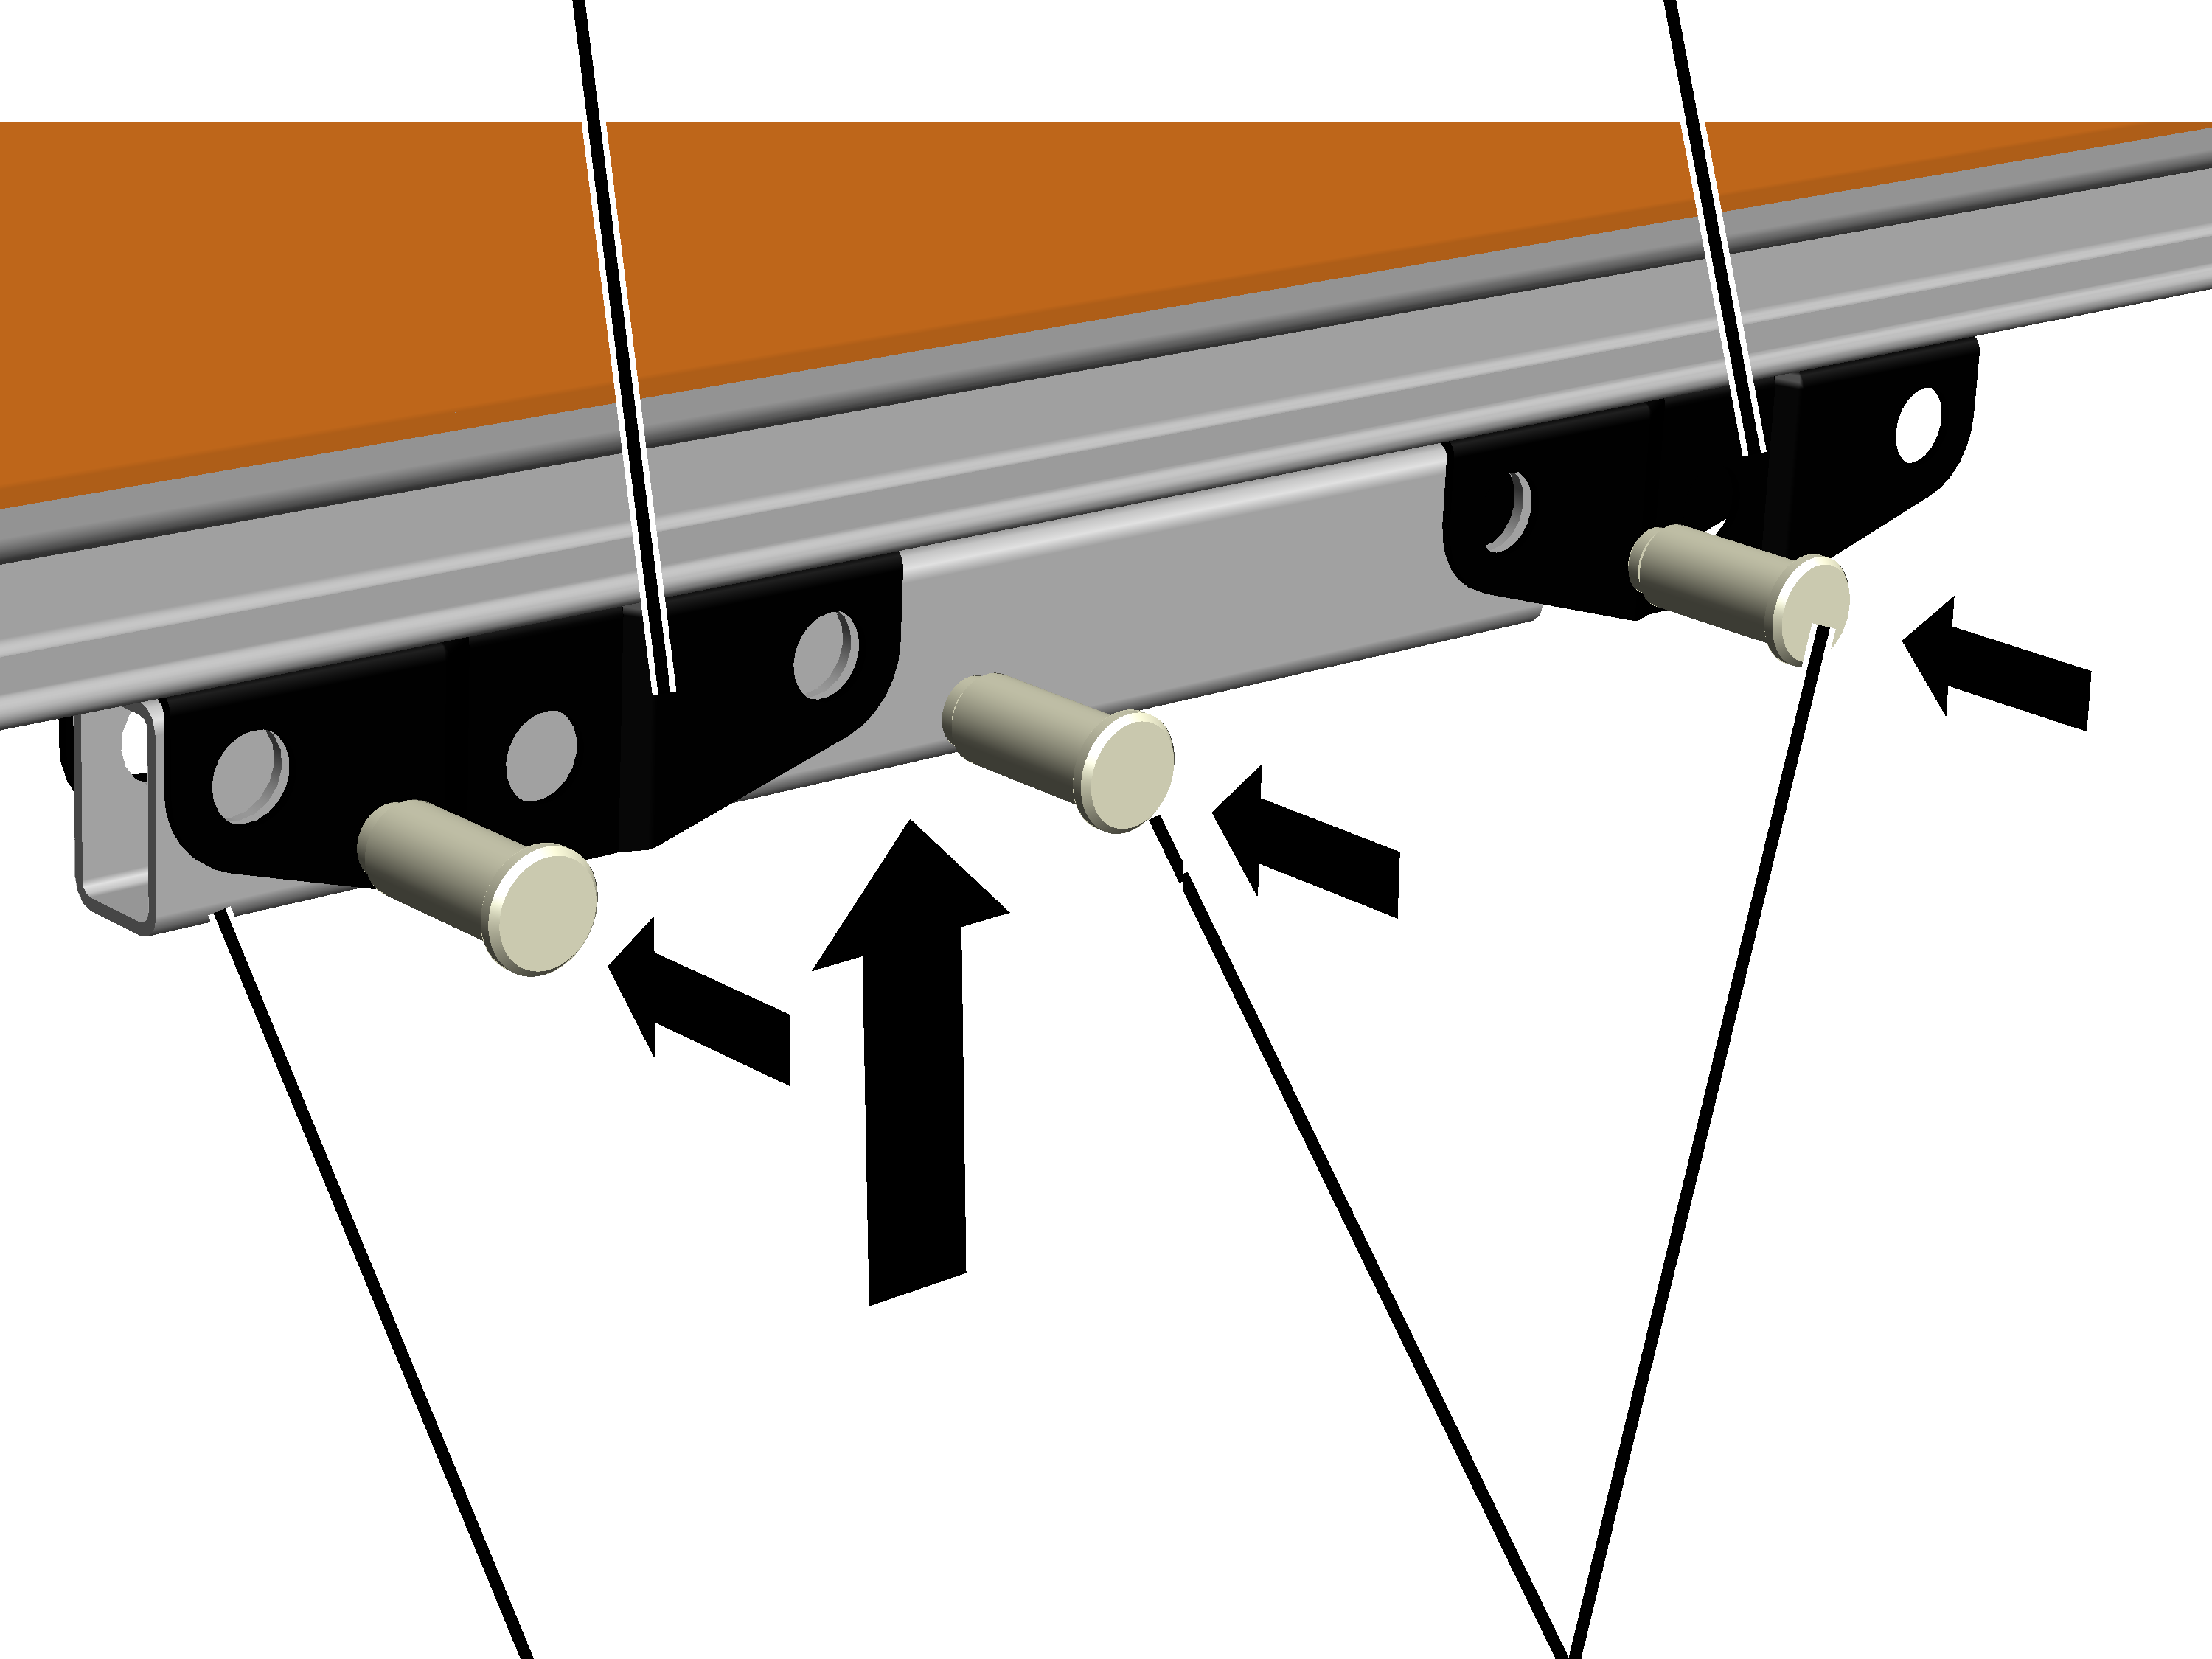
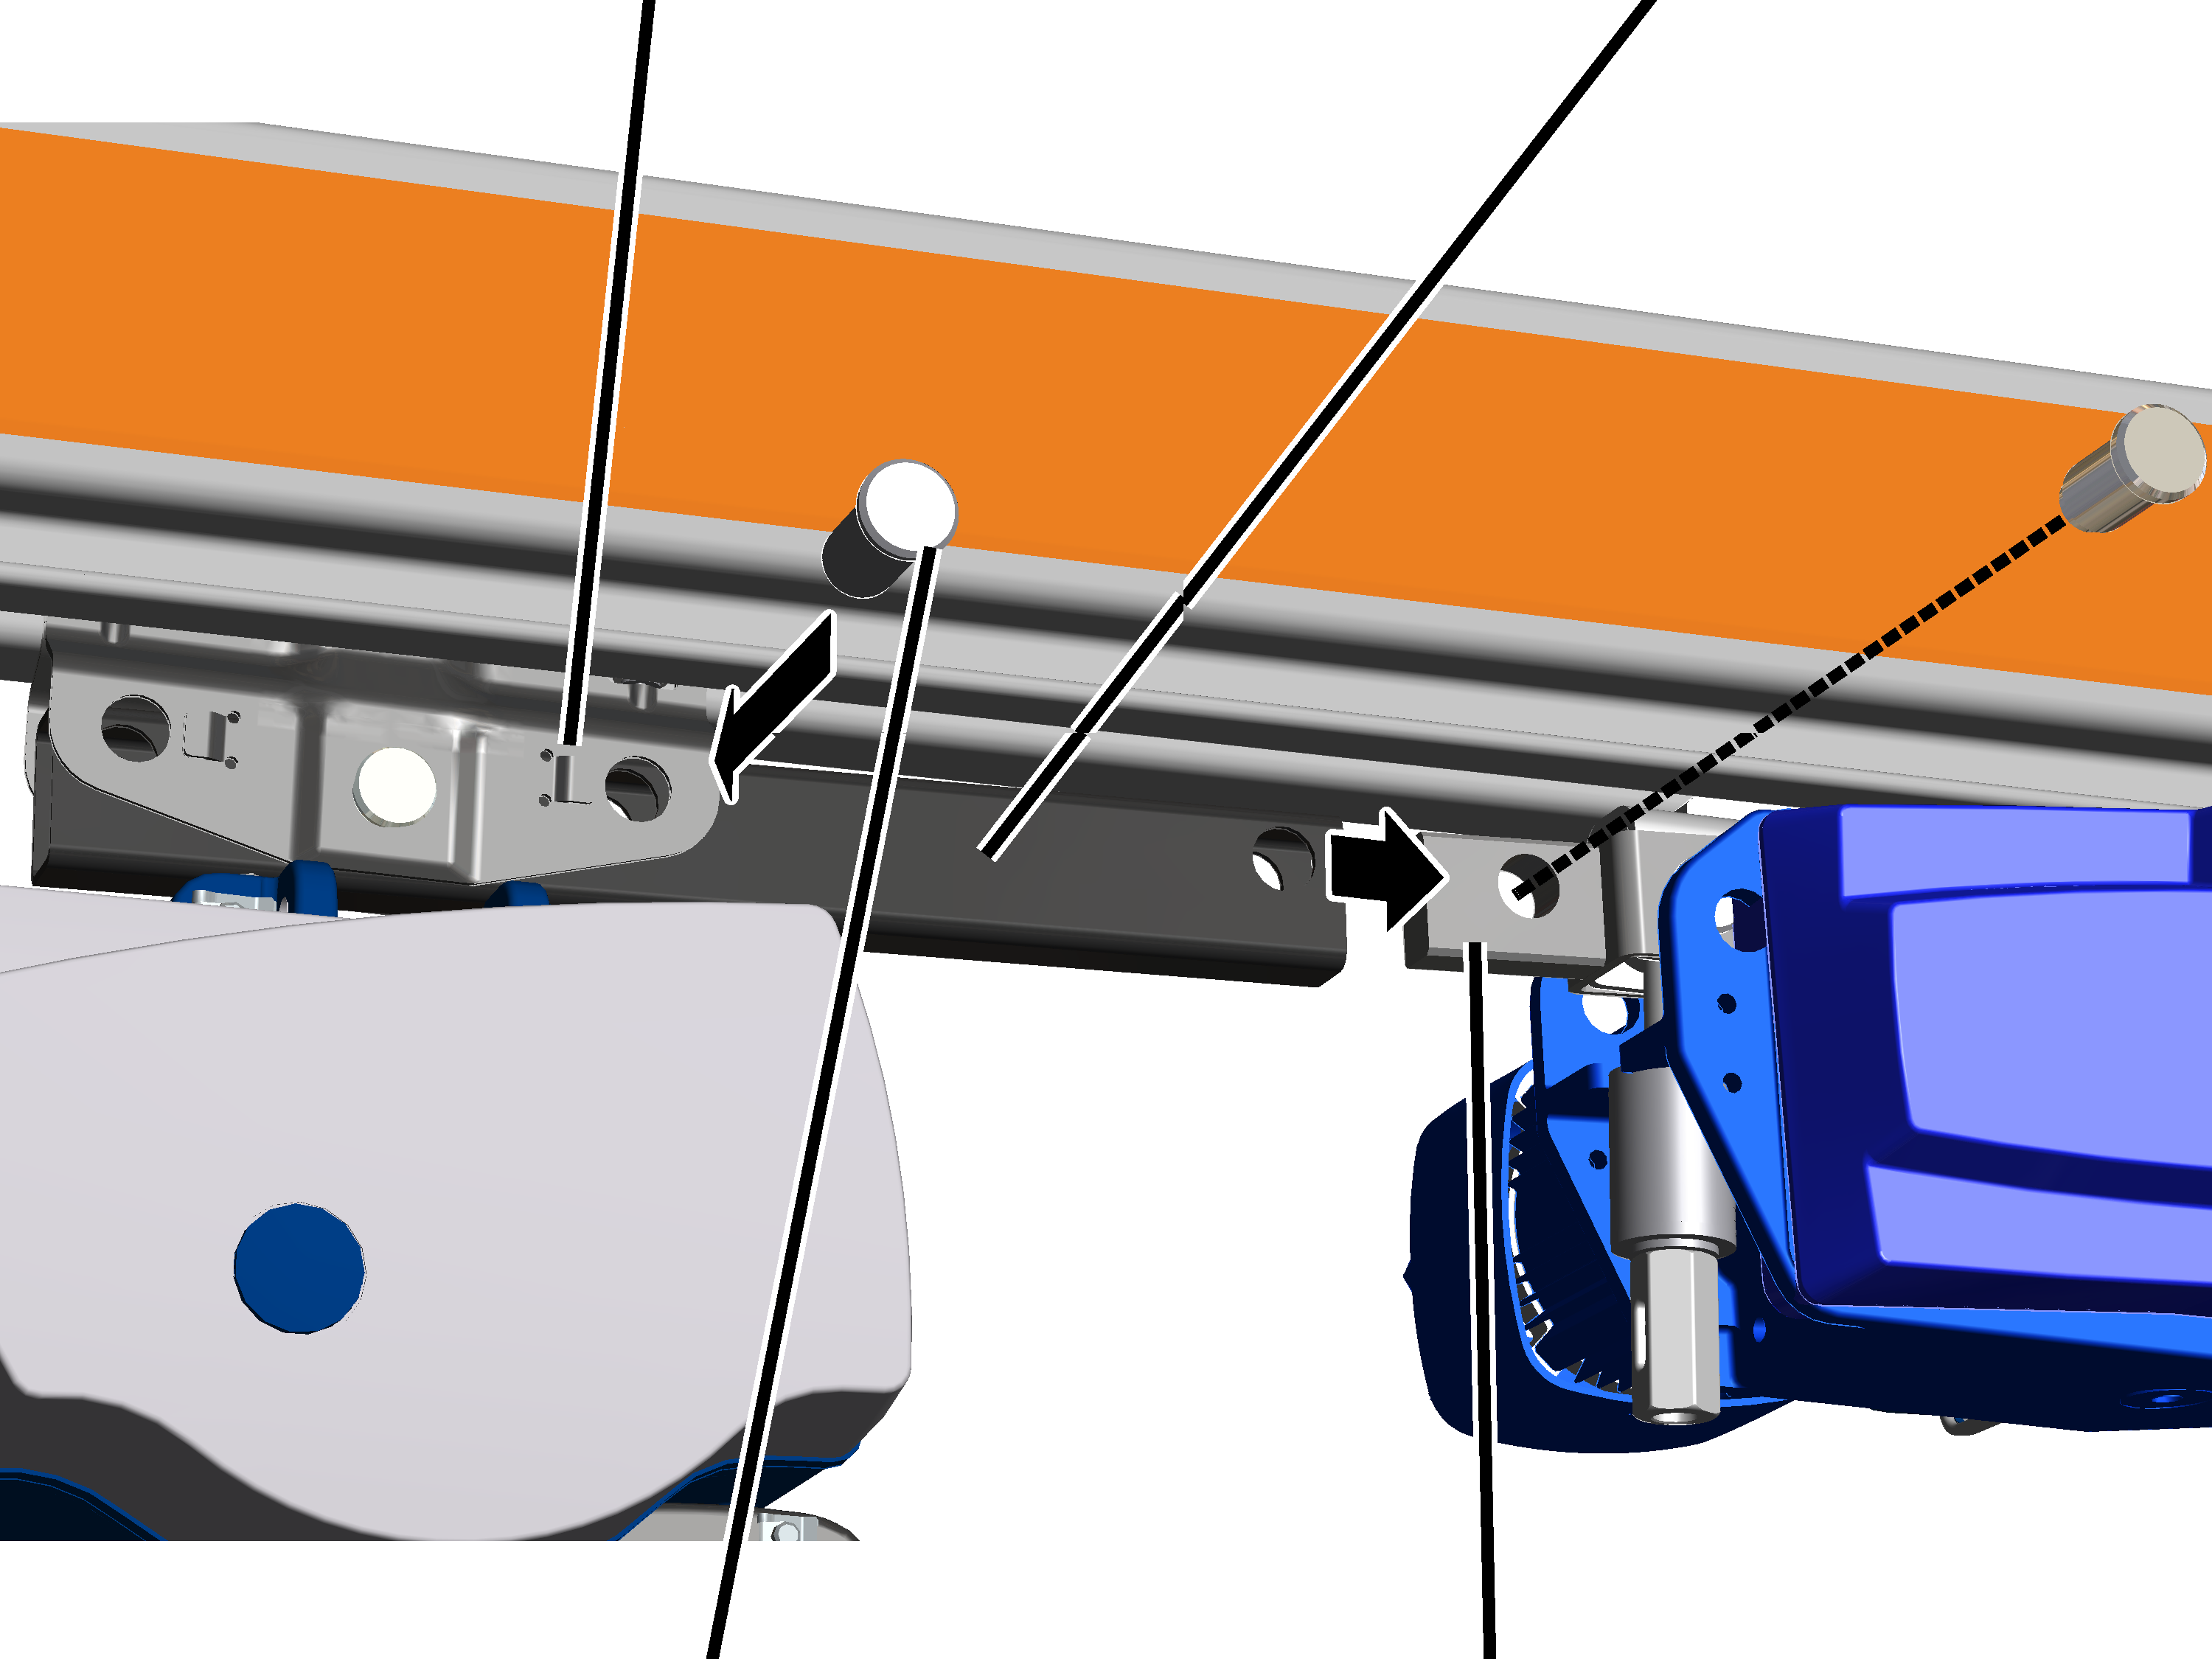
|
Preceding trolley |
Travel mechanism of the trolley |
|
| |
|
Coupling bar |
Bolt (3x) |
On the preceding trolley:
push the coupling bar inside the trolley.
Push bolts (2x) through
trolley and coupling bar.
Secure bolts with SL
safety clips (2x).
On the travel mechanism of
the trolley: insert coupling bar through the front hole on the trolley.
Push bolt (1x) through the
front hole on the trolley and through the coupling bar.
Secure bolt with SL safety
clips (1x).
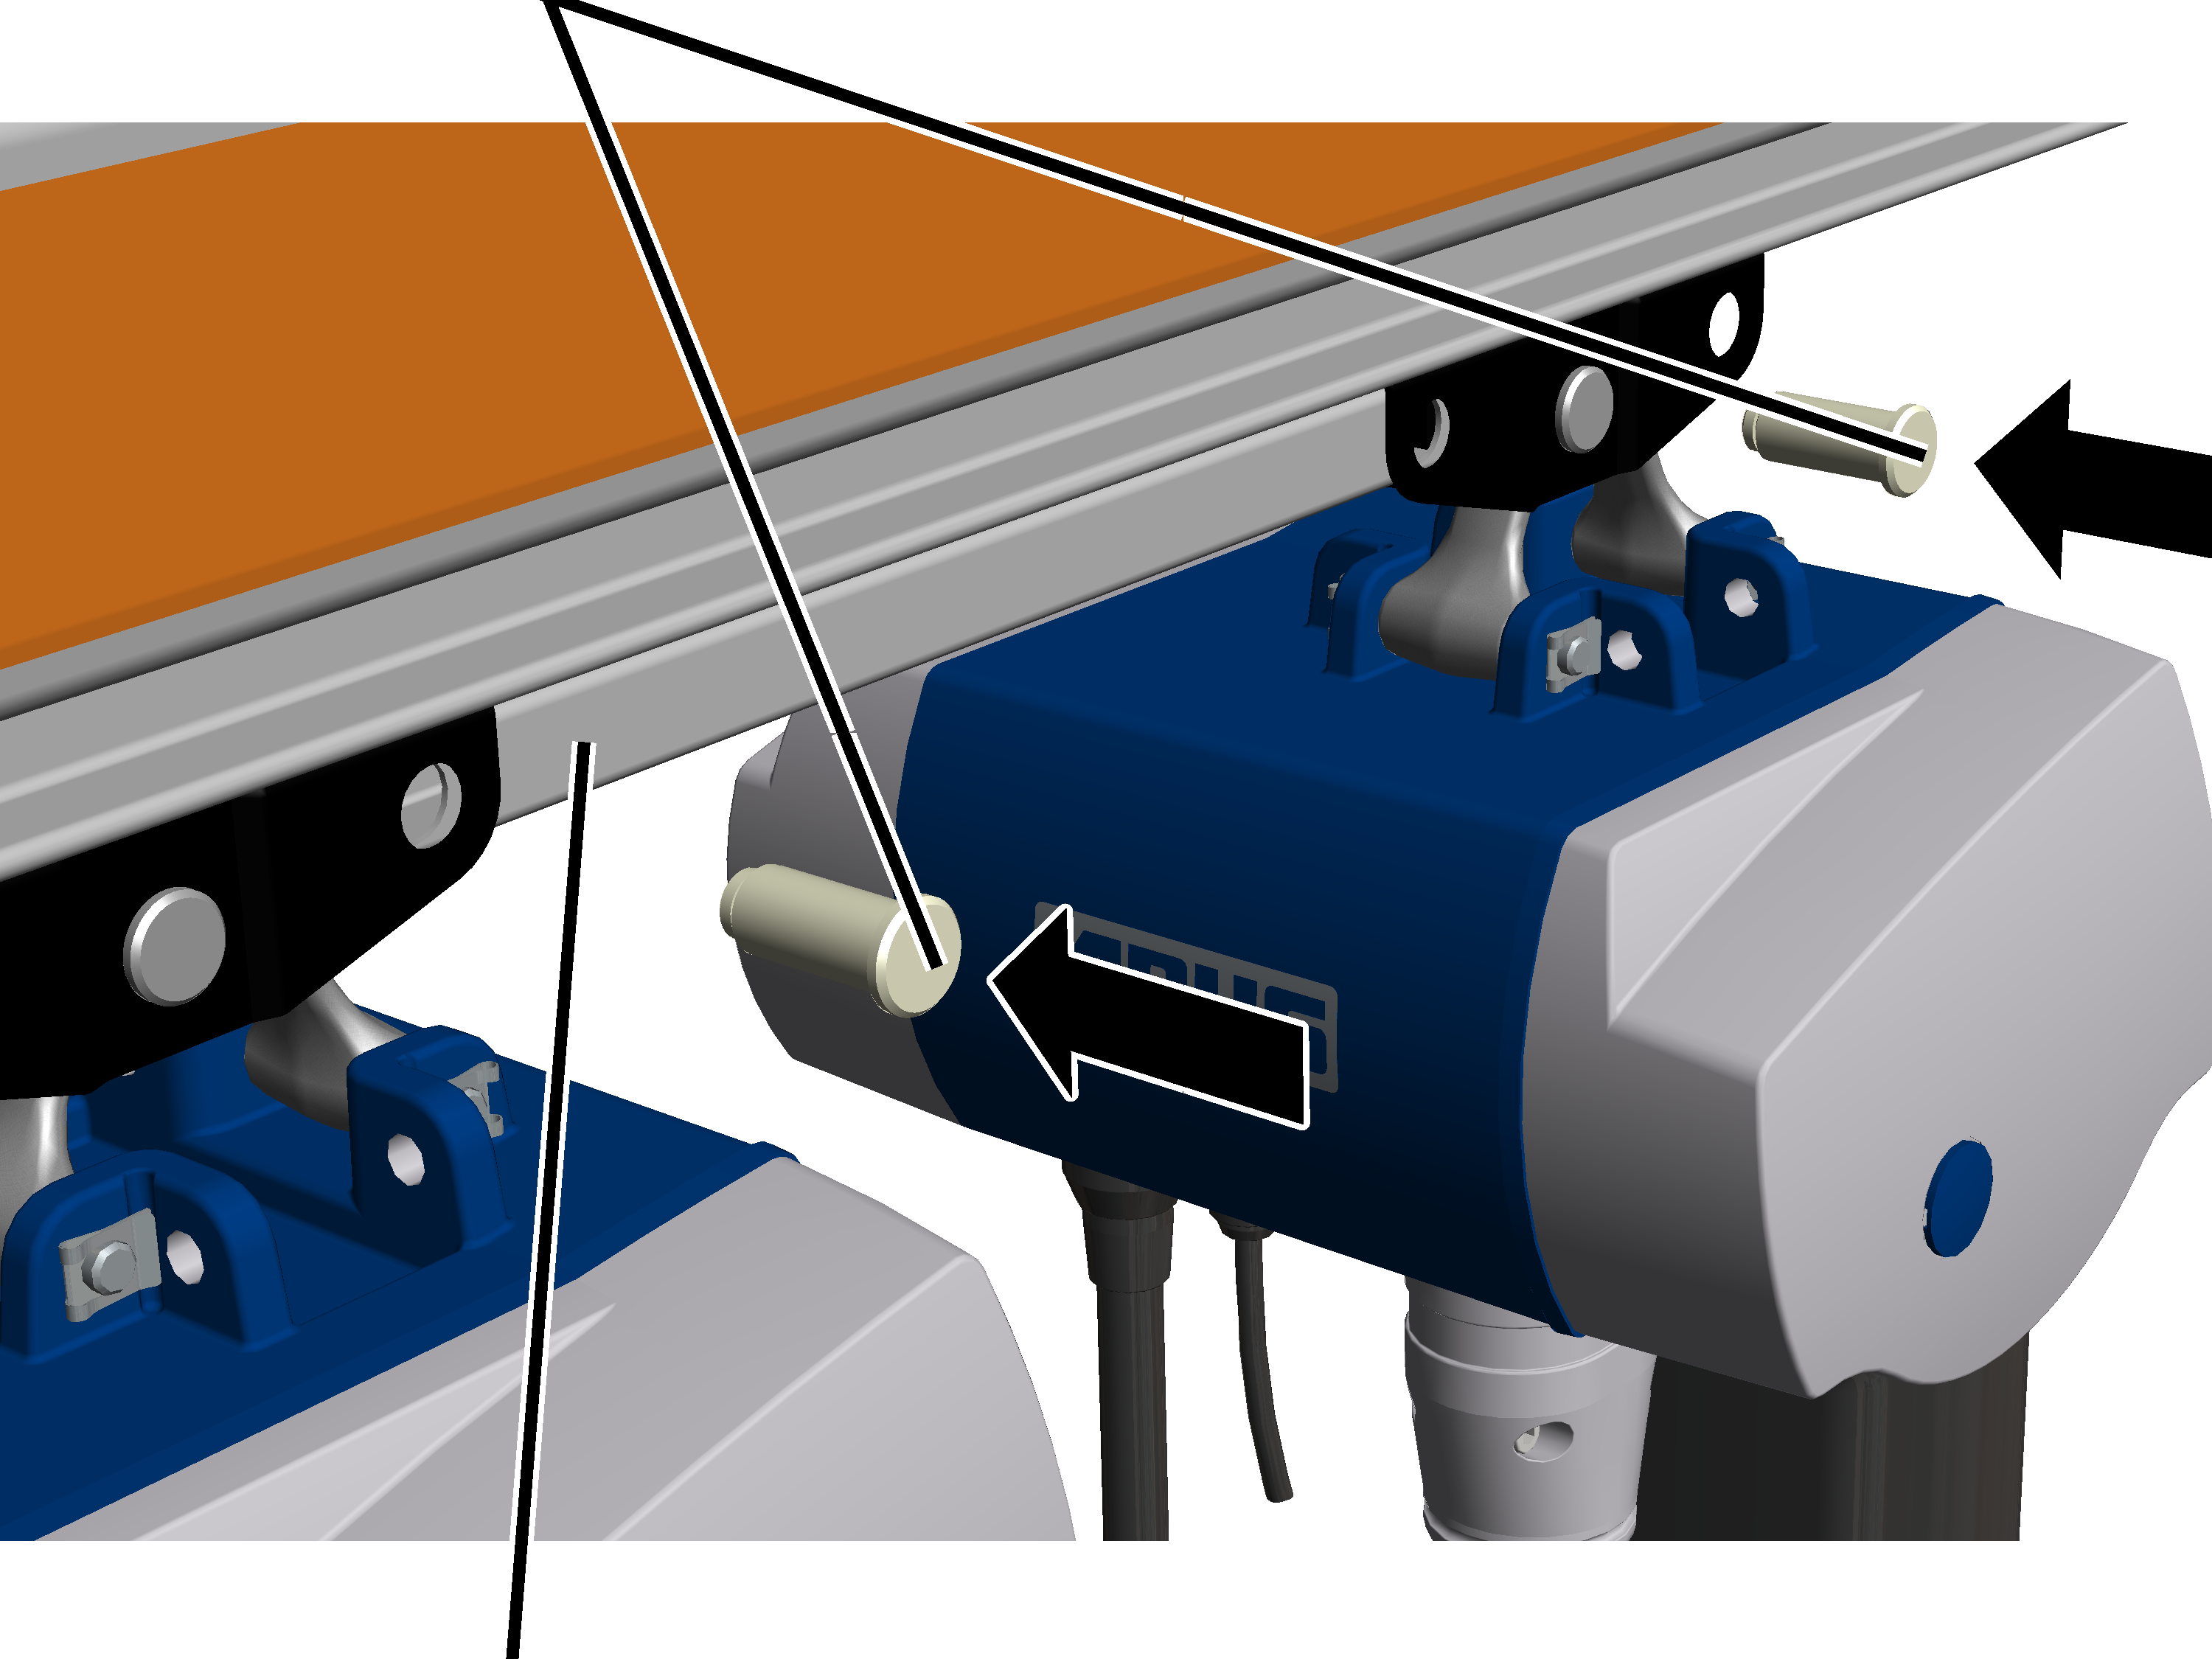
|
Coupling |
Bolt |
|
| |
|
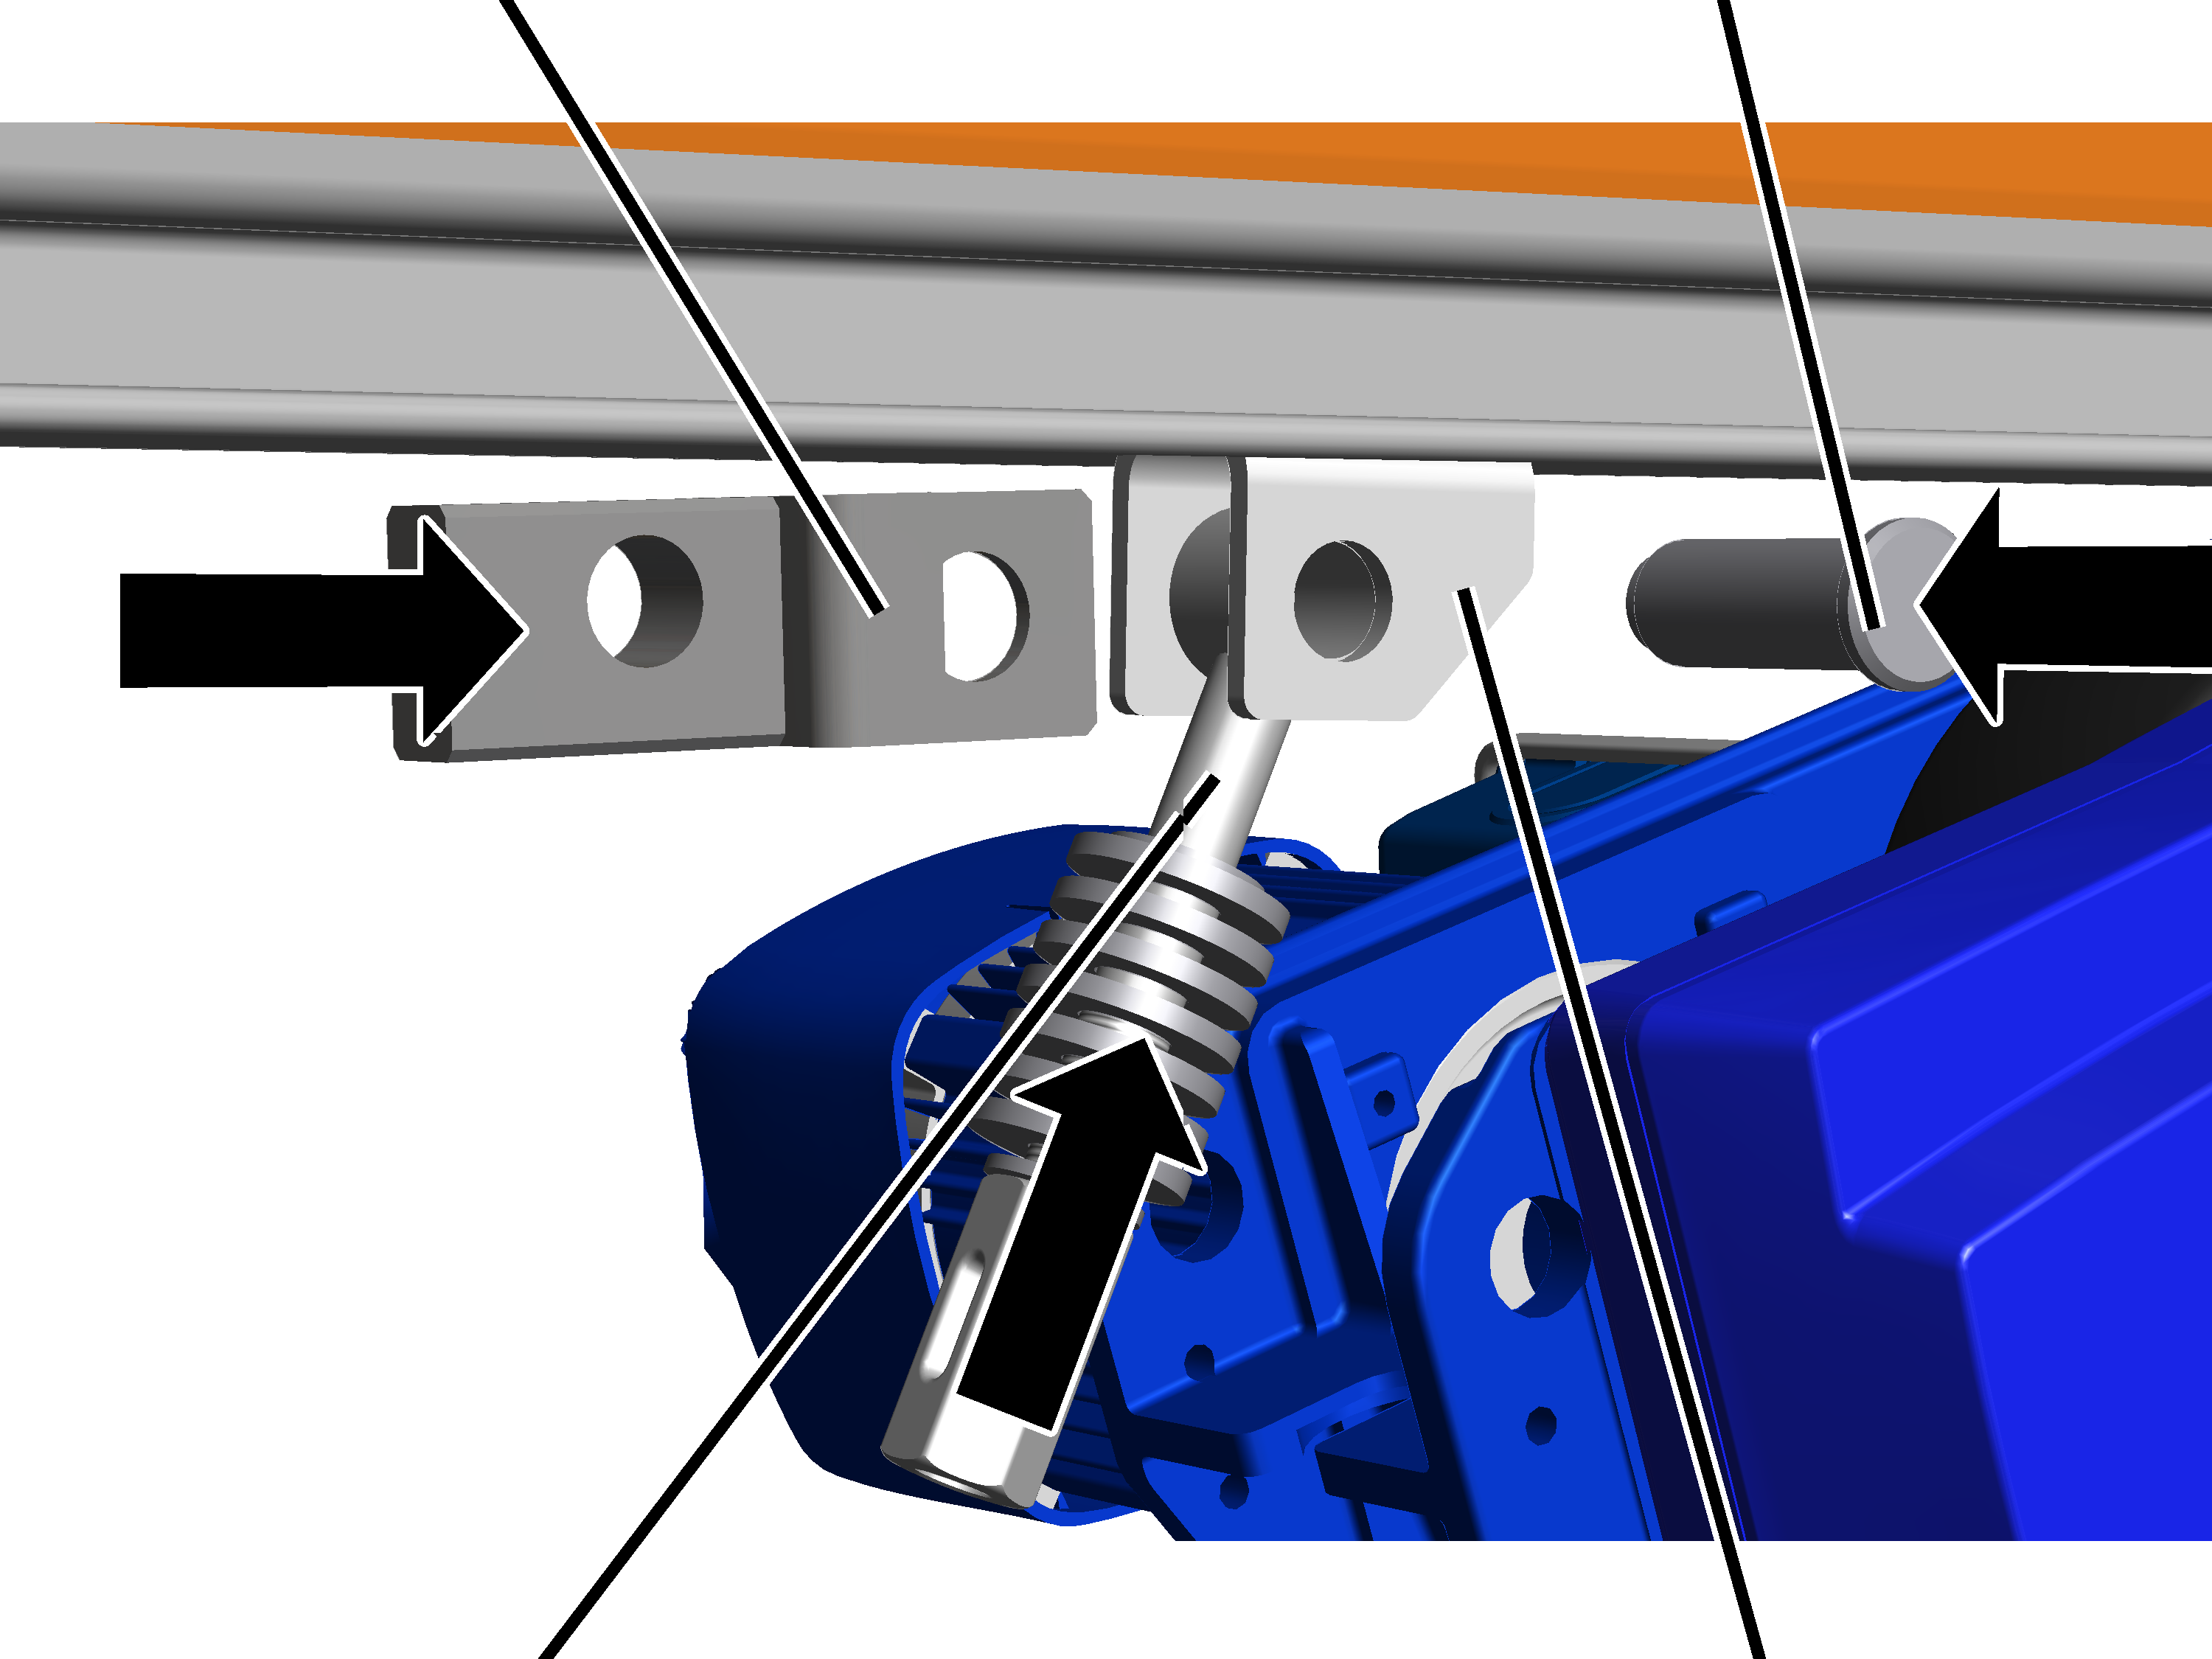
Eyebolt |
Fork part on HBF trolley |
If not yet already
assembled: insert eyebolt between the fork part on the HBF drive, slide the
coupling over the fork part, insert bolt and secure with the SL safety clip.
Connecting coupling bar with preceding trolley:
|
Preceding trolley |
Coupling bar |
|
| |
|
Bolt |
Coupling |
On the preceding trolley:
push the coupling bar inside the trolley.
Push bolts (2x) through
trolley and coupling bar.
Secure bolt with SL safety
clips (2x).
On the HBF drive: push the
coupling bar over the coupling.
Push the bolt through the
coupling rod and coupling.
Secure bolt with SL safety
clip.
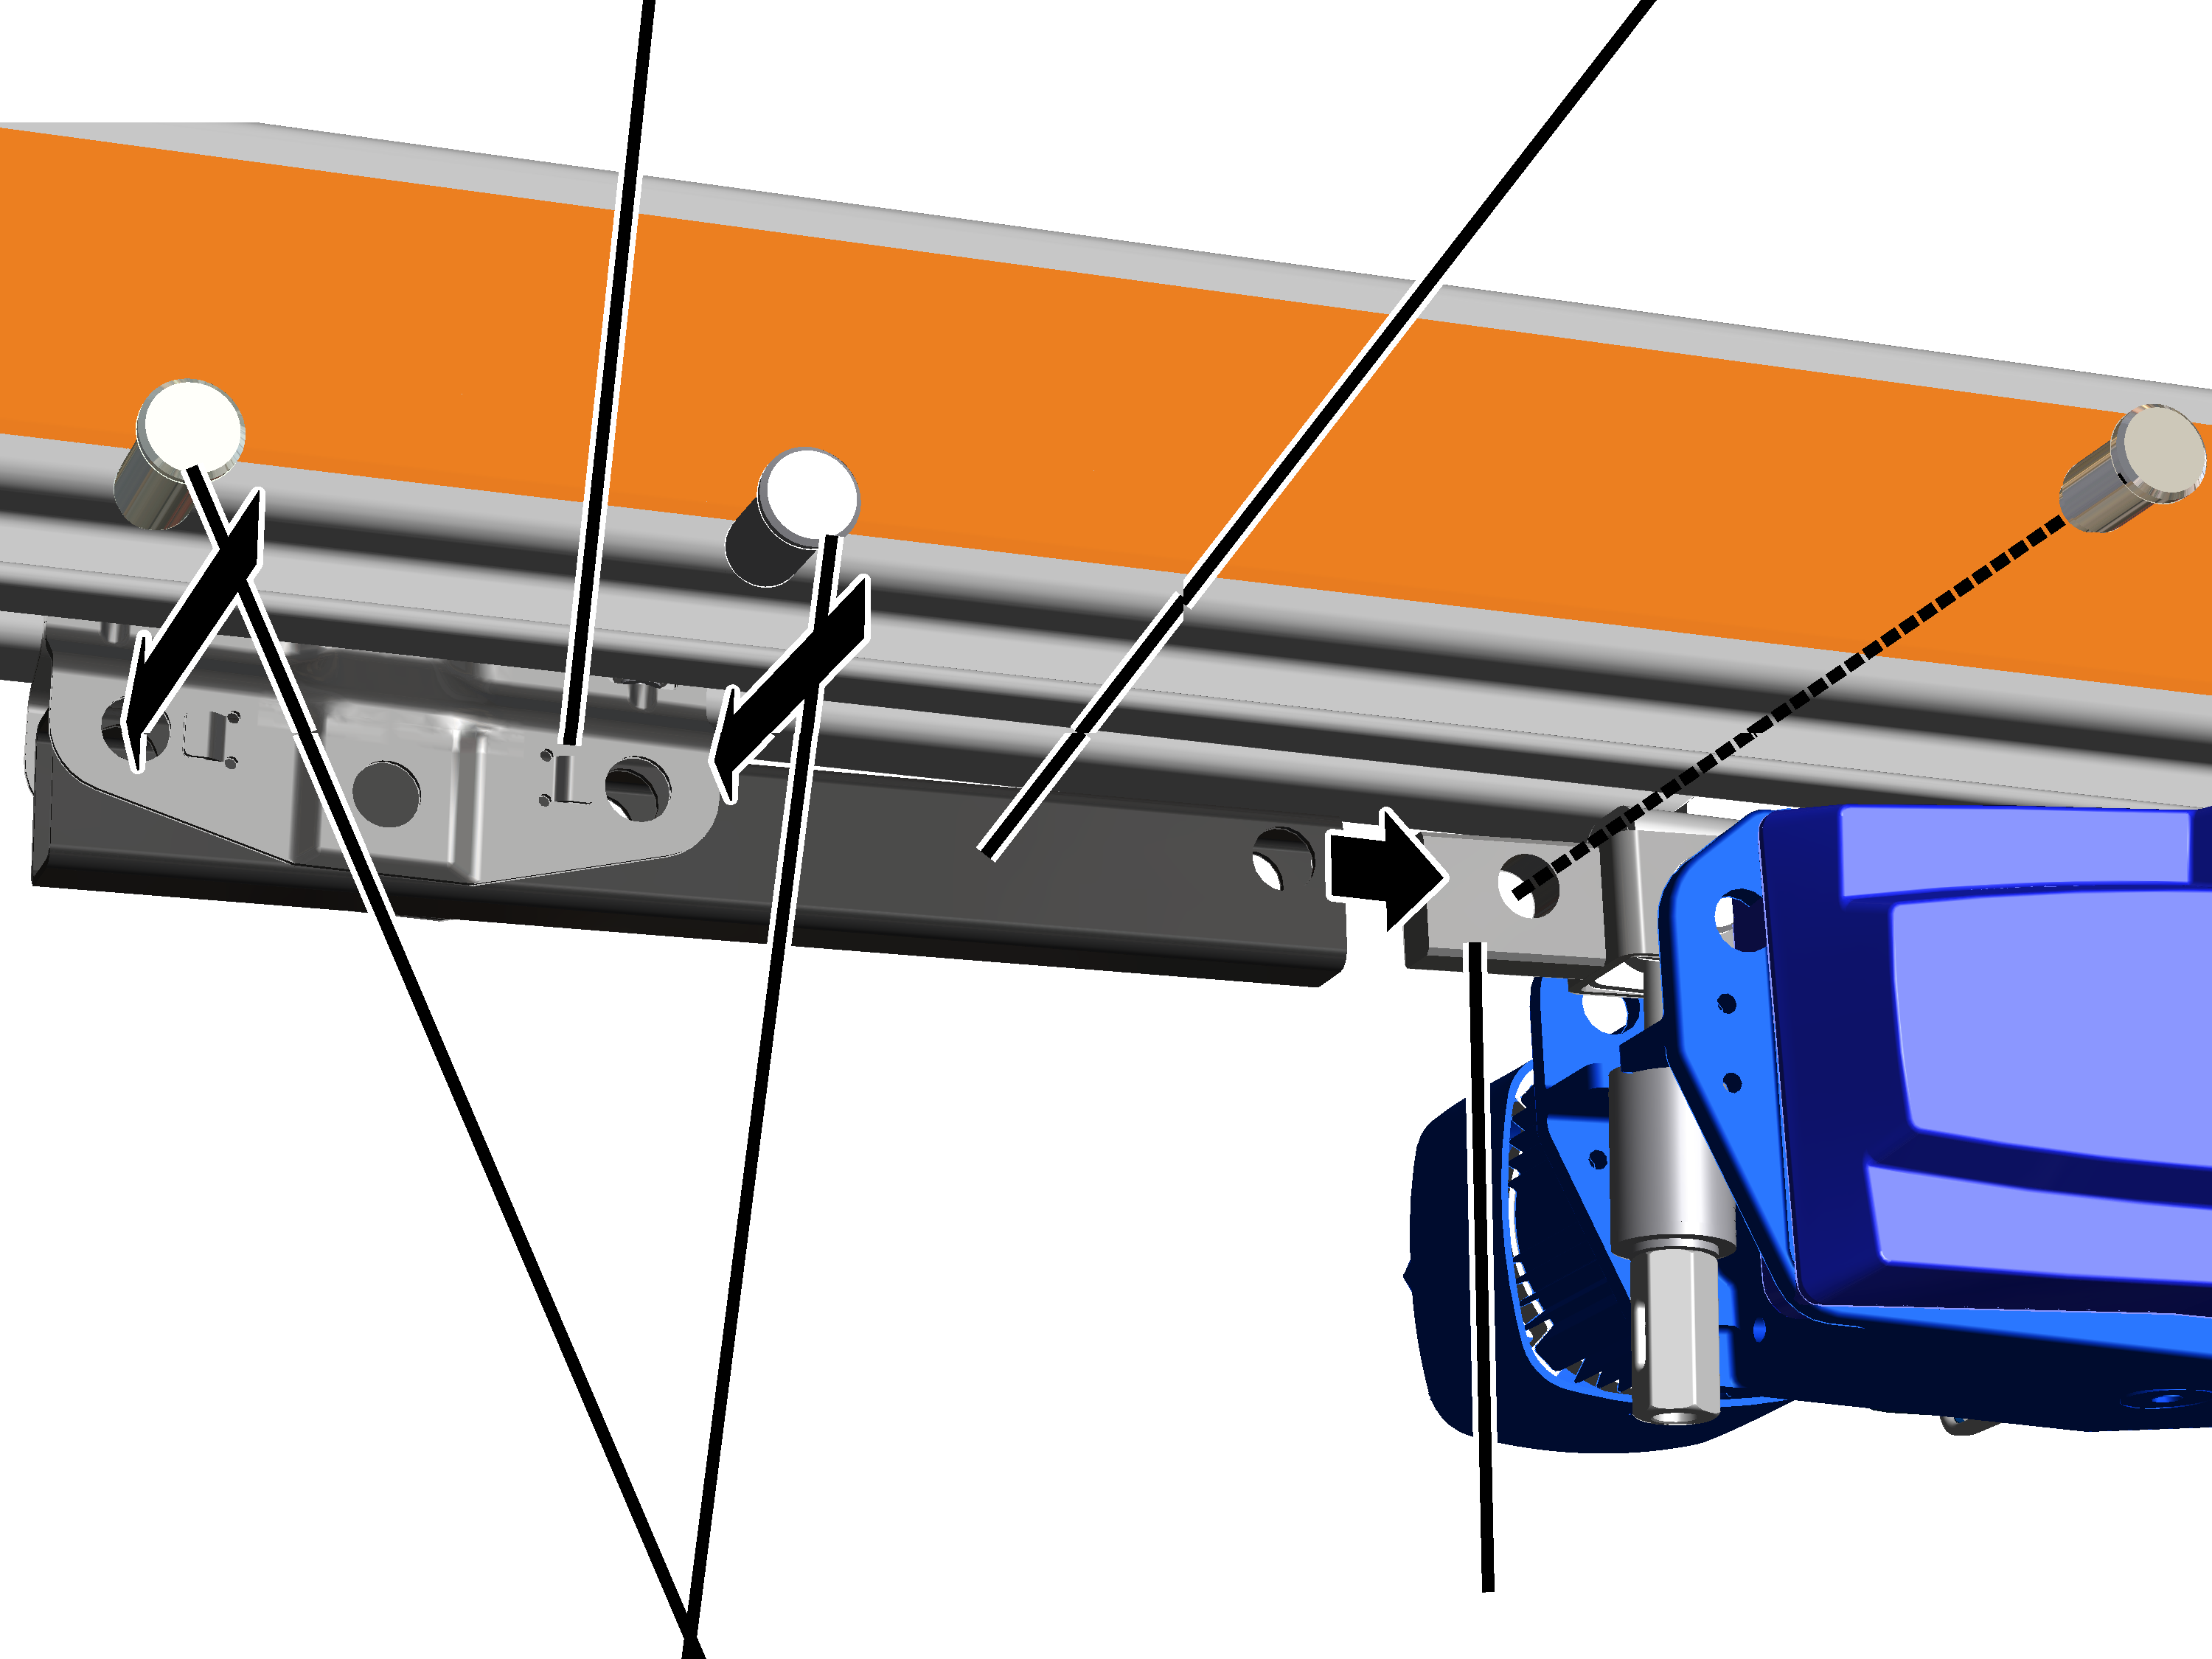
Connecting coupling bar with other hoist trolley:
|
Hoist trolley |
Coupling bar |
|
| |
|
Bolt |
Coupling |
On the hoist trolley: push
the coupling bar inside the trolley.
Push bolt (1x) through
trolley and coupling bar.
Secure bolt with SL safety
clips (1x).
On the HBF drive: push the
coupling bar over the coupling.
Push the bolt through the
coupling rod and coupling.
Secure bolt with SL safety
clip.
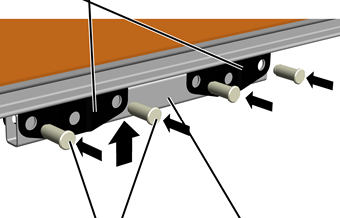
|
Trolleys for anti-collision device |
|
|
| |
|
Bolts (4x) |
Coupling bar |
Push the coupling bar
between the trolleys.
Push bolts (4x) through
trolley and coupling bar.
Secure bolts with SL
safety clips (4x).
|
Bolt |
|
|
| |
|
Coupling bar |
|
Push the coupling bar
between the trolleys.
Push bolts (2x) through
trolley and coupling bar.
Secure bolts with SL
safety clips (2x).